 Home » How To Change PST-OST Default Location
How to Change PST/OST File Default Location in Outlook
OST and PST are the two popular file formats for saving Outlook mails. Once OST and PST file is created in Outlook, it would save in default location. However, if the OST/PST file has been moved from default location to another folder, we can not open until we navigate to the folder and choose it. In this article, I will describe a clear idea regarding how to change OST/PST default location.
Steps to Change Default Location of PST File
Step 1: Exit Outlook after saving its mail details
Step 2: Open Windows Explorer and move the outlook data file (.pst) to new location
Step 3: Restart Outlook.
Step 4: The following error messages appears as shown below;
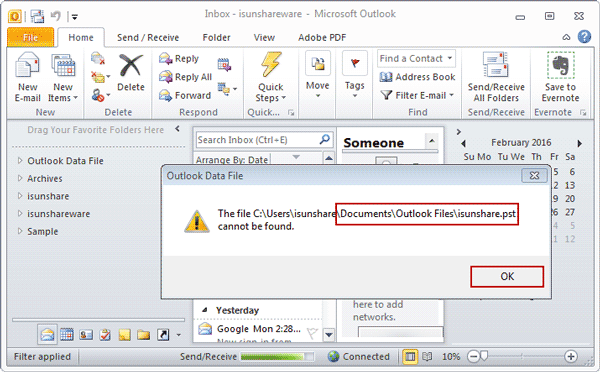
Step 5: Click OK.
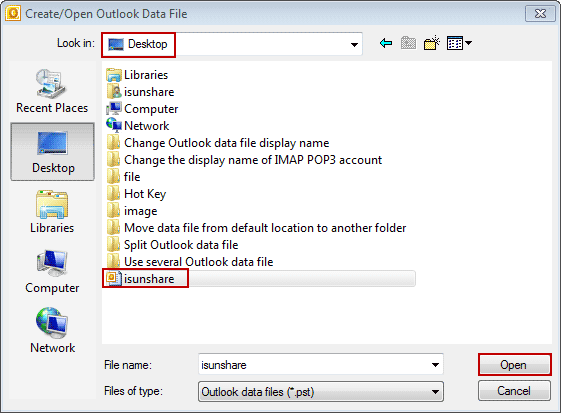
Step 6: Next Windows appears, browse to the new location, and select the outlook data file (.pst) you moved. And then click Open.
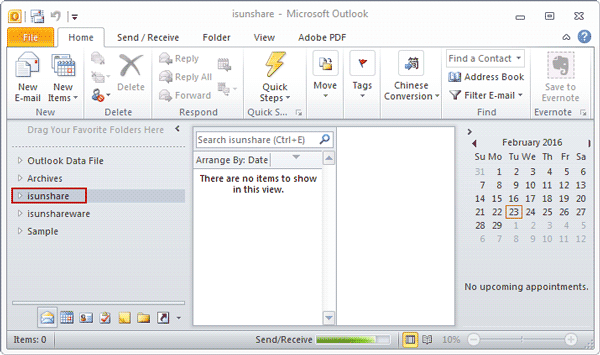
Now .PST file will save in this new location, if you don’t change its location later.
Steps to Change Outlook .OST File Default Location
Please change the .OST file default location before you add email account to Outlook. You need to follow the below steps for change file location.
Step 1: Press WIN + R to open Run box, and type regedit. Press Enter to open Registry Editor.
Step 2: Navigate to HKEY_CURRENT_USER\Software\Microsoft\Office\15.0\Outlook.
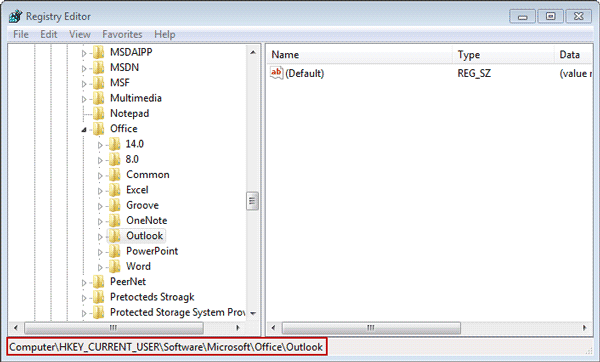
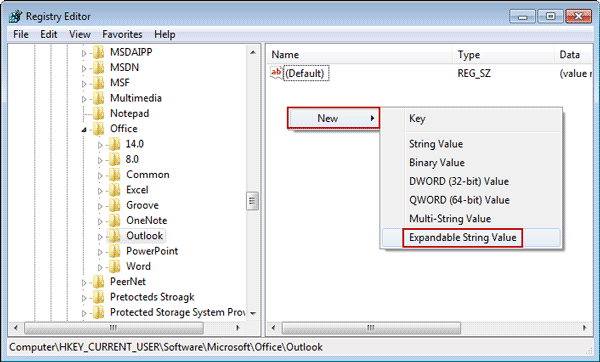
Step 3: Right click on the blank space in the right pane. Go through New > Expandable String Value. Name it “ForceOSTPath“.
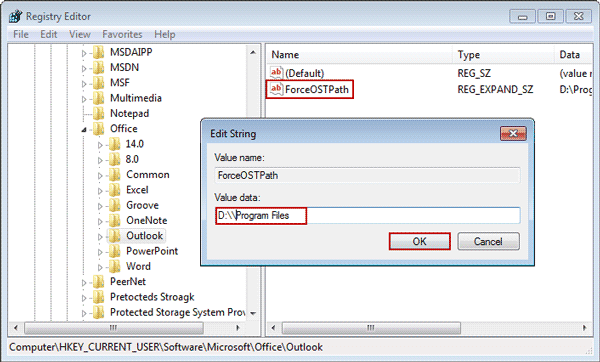
Step 4: Double-click the new key ForceOSTPath. You will type the path in value data when Edit String dialog appears, then click ok button.
After creating new string and set value data, you can see in Outlook, data file has been saved in the location you set, not default location. In this way, you can understand how to change default location of OST and PST file. You can also change OST to PST, if you want to access your .ost file in .pst file account.