 Home » How To Recreate OST File In Outlook 2010
How to Recreate OST File in Outlook 2010 & 2013
In today scenario, Exchange users might face various issues when Microsoft Outlook gets disconnected or corruption issues in OST file. It makes OST file inaccessible as well as creates problems for your business. If you are using Outlook 2010 & 2013 account, then this issue can be resolved via deleting OST file then recreating OST file in Outlook.
To delete OST file you need to exit Microsoft Outlook, go to the default location(C:\Users\Computer Login ID \AppData\Local\Microsoft\Outlook) where OST file has saved. After selection of OST file, perform right click on this file and choose delete. This process will delete OST file, but here the question arises how to recreate OST file in Outlook 2010.
Let’s See the Below Steps to Recreate OST File in Outlook 2010 & 2013
Go Through Control Panel and then Hit on Mail
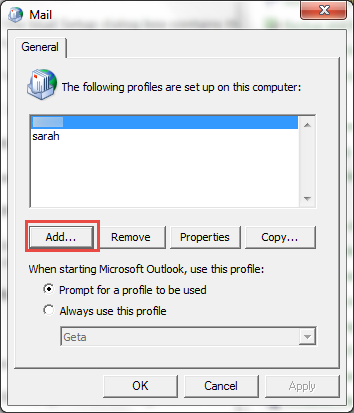
Hit on Show Profiles and then Hit on Add tab.
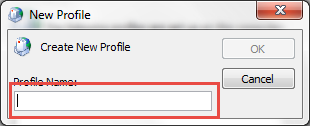
New profile dialog box will appear, type your new profile name in this dialog box
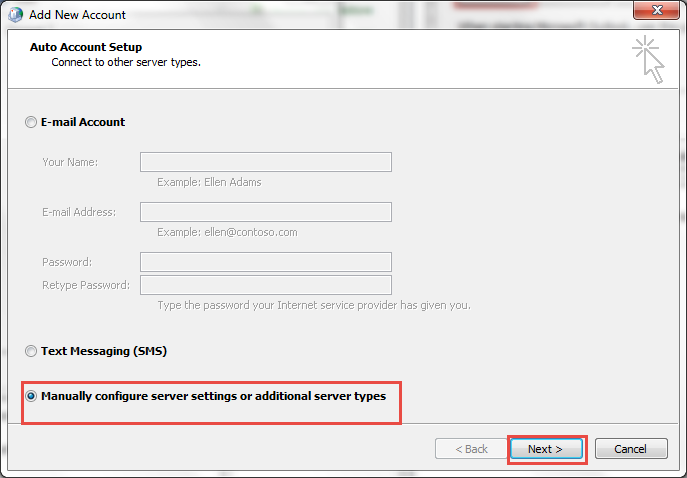
Select manually configure server Settings or additional server types and then click on Next.

Choose Microsoft Exchange or compatible service and then Hit the Next.
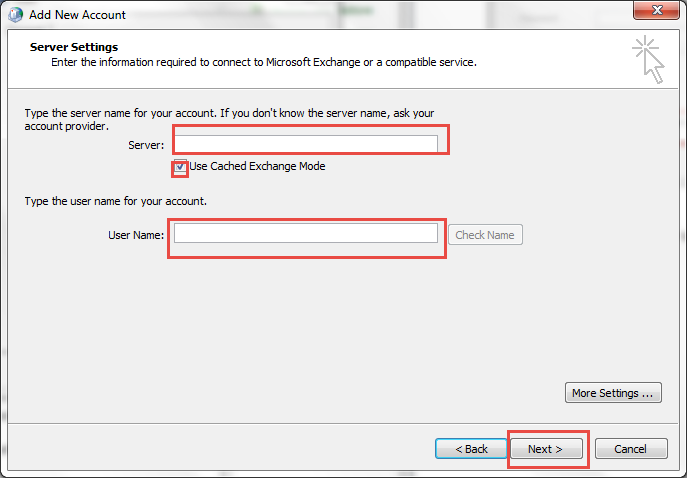
Type the Server name and your user name of your account. Select the 'Check on Use Cached Exchange Mode'.
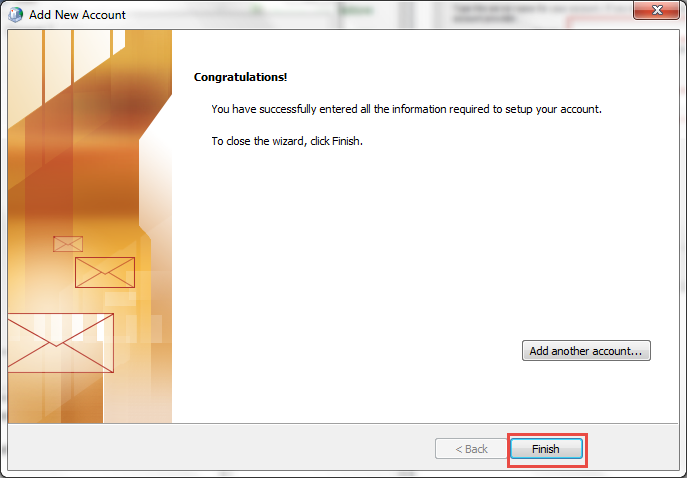
Choose the 'Finish' tab.
Now you can Open your account in MS Outlook.
Final Conclusion:
Hence, you can follow the above mentioned steps to recreate OST file. After recreating OST file several issues related to OST file can be fixed and you will access OST file again. But if you don't want to go through these tedious steps and looking forward for a simple solution to access OST file of Microsoft Outlook, then make in use of Conversion Process of Microsoft OST to PST Tool. It will repair major corruption issues of OST file as well as convert OST files into PST, EML and MSG format .